How to use included Specimen ID labels
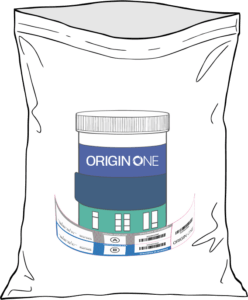
Your package contains Specimen ID labels for each of the cups delivered.
Begin the collection event in the Origin One web application. Follow the collection wizard instructions.
When prompted to begin the collection follow instructions below:
Our package contains a label attached to the bottom of each cup. Remove the cup with labels from the pouch.
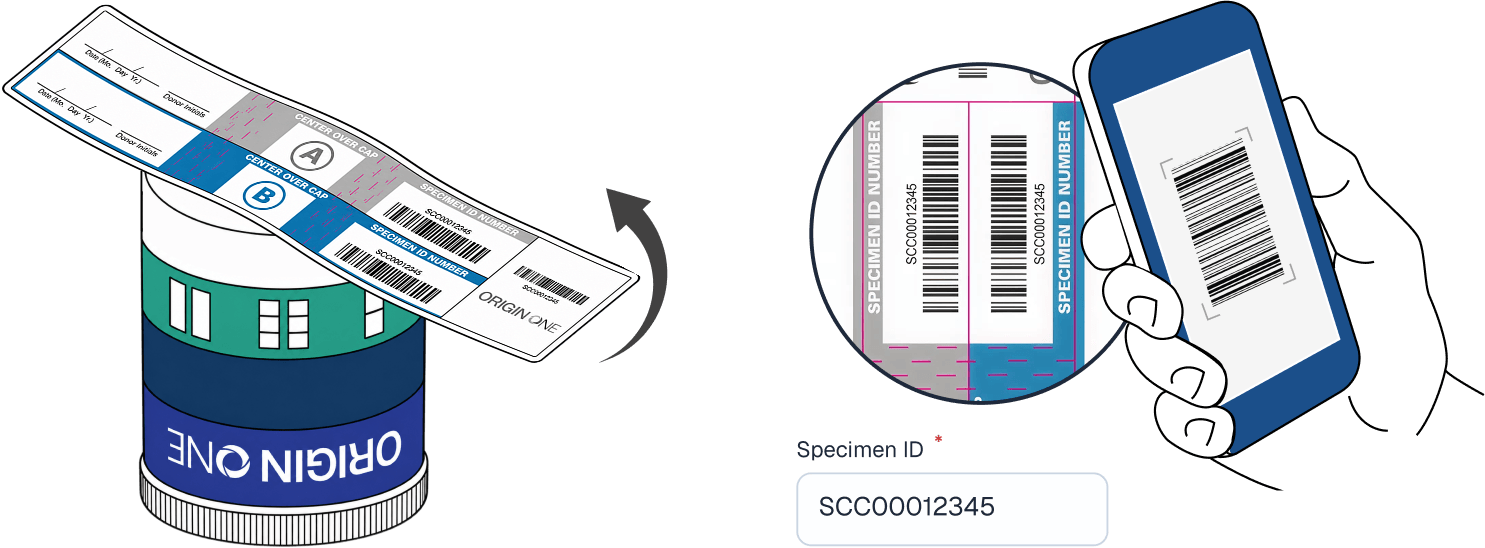
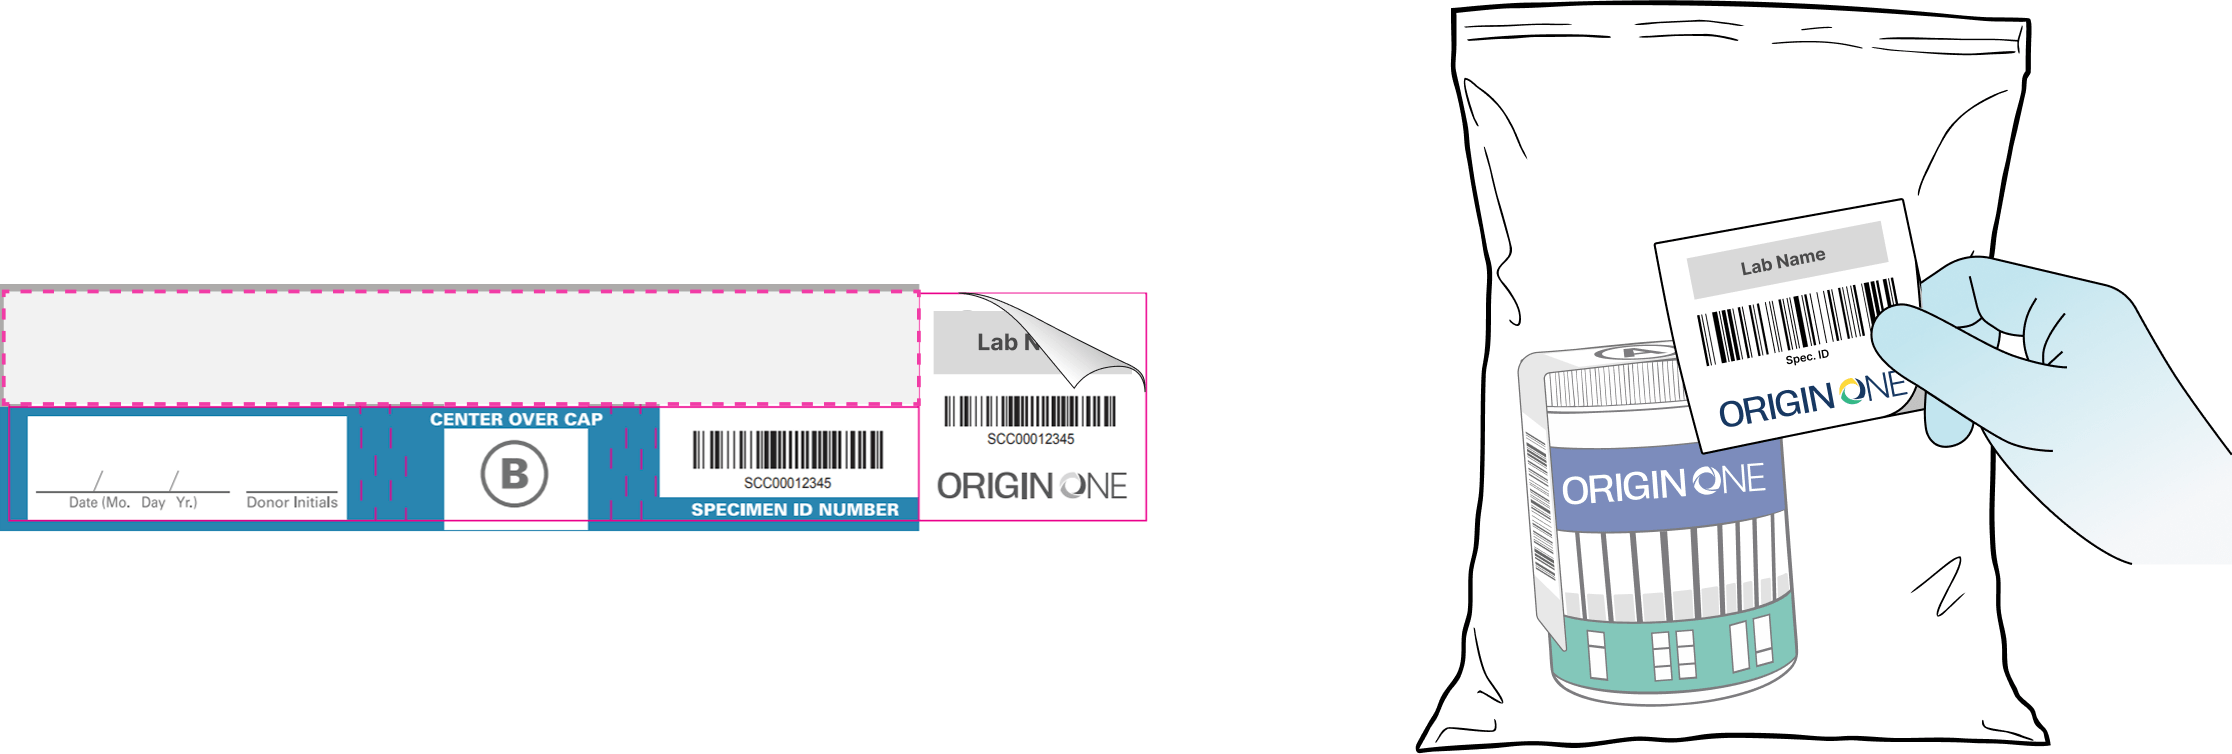
Before collecting the sample, gently remove the label from the bottom of the cup. When prompted, scan the barcode on the seal and verify that the Specimen ID has been read correctly.
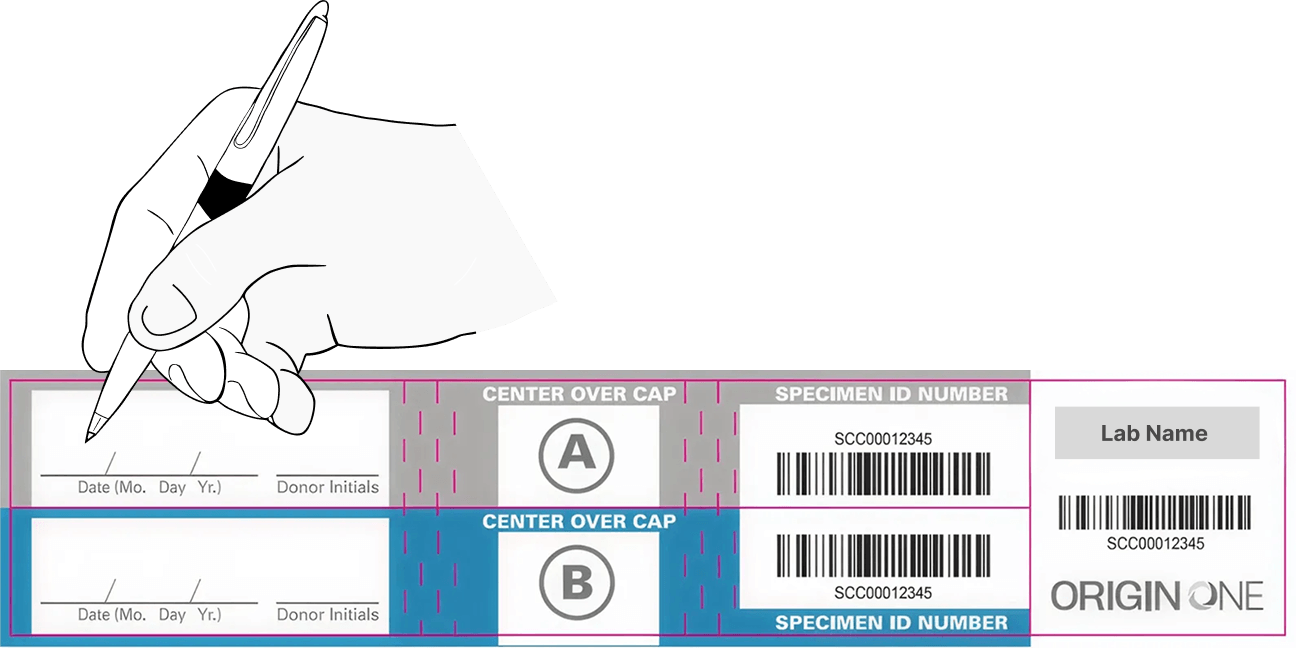
Date the seals A and B and wait for the donor to produce the sample.
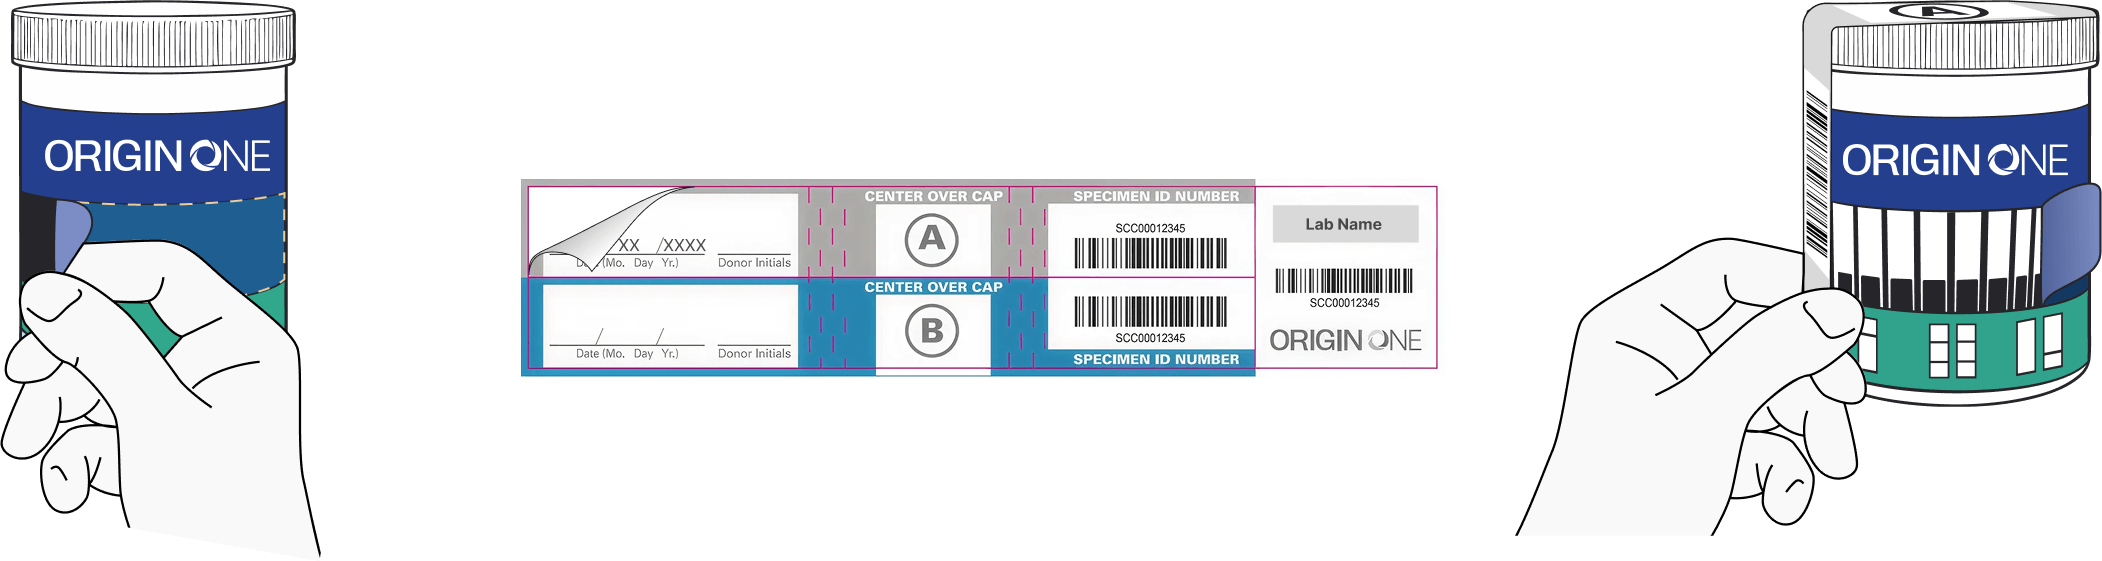
Remove the protective label first, ensure the results panel is not exposed to the donor. Then, affix the seal “A” over the center of the cup lid, and down the sides of the cup *DO NOT COVER ANY OF THE DRUG STRIPS*. If the seal is broken or not secure, use seal “B”
Have the donor initial both seals and verify the Specimen ID matches. Donor then completes the collection by signing and checking the consent.

Release the donor.
Wait for 3 mins to get the results. When the result is captured, follow the protocol for further actions:
If Non-Negative/Invalid: Place the cup into the specimen bag and attach the specimen bag seal to the outside of it.
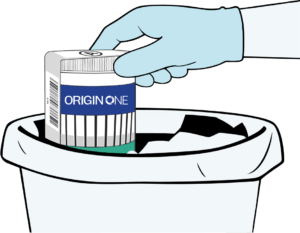
If Negative result: discard the cup and remaining seals.
Sign the collector statement in the app and press “Submit” to finish the process.